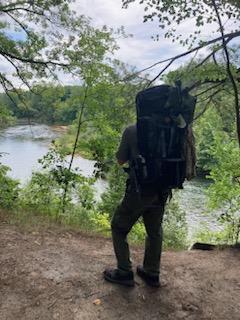
If you’re like me, and love to get outdoors, you have probably considered hiking. Just to be clear, when I say hiking, I don’t mean going on a walk through the woods. I am talking about multiple days with everything you need strapped to your back as you explore God’s creation. That is the kind of hiking I like to do, but there was a time that I didn’t think I could afford to get into it. I, being a researcher by nature, gathered as much information as I could on gear, the trails around me, and the skills I needed to get the most out of my experiences. I found the cost a little “off putting” to say the least.
I was, however, determined to get out on the trails, so I weighed my options and found the cheapest way to get into the action while compromising quality and comfort as little as possible. Speaking of comfort, I also learned an important rule during this process. It is that there are all kinds of comfort, and all kinds of discomfort. When choosing your gear, keep this in mind. You will often find that there are items that make you more comfortable while on the trail, and items that make you more comfortable at camp. Usually, if an item does both of these things, they will be financially uncomfortable. So, I have compiled a list of items that are both affordable, and will help make your hike more enjoyable.
Some decent budget backpacks
First thing you are going to need is a backpack. Amazon has some great options for backpacks, but I would be doing you a disservice if I didn’t mention Facebook marketplace. You can usually find some good deals on hiking packs from people who have replaced their old gear with the latest and greatest. I really like Kelty brand backpacks, and have several of them. I have yet to pay full price for one. The cheapest I have paid for one is $5 at a yard sale. It has been a good pack, but has been “reassigned” as my get home bag. My current hiking pack is a 90s era Jansport external frame pack. It was a steal on FB marketplace at $40.
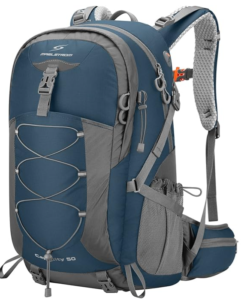
If it is a new backpack you want, you have some good choices online that won’t break the bank. I have 3 options for you that I wouldn’t mind buying, but the decision ultimately comes down to what you want. I am biased toward external frames because I believe they distribute, and support the weight of my gear better than internal framed packs while allowing air to pass between my body and the pack. Internal frames have their advantages because they are easier to store and transport.
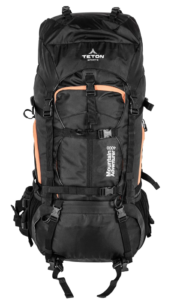
Teton 65L Internal frame backpack
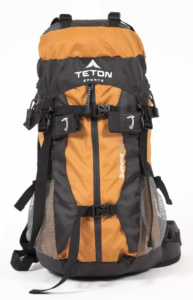
Teton 25L daypack
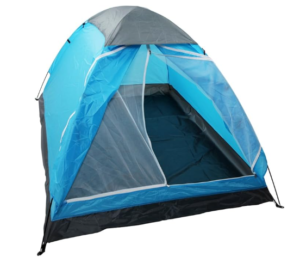
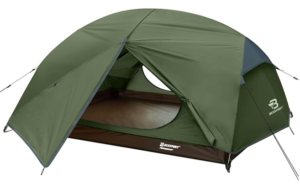
Affordable tents
Moving on from backpacks, you need a good tent. This is your home on the trail, and it needs to be good in 3 different areas in order for it to be worth buying. It needs to keep water out. It is inevitable that you will get rained on if you make a habit of hiking. When it does rain, you want a dry place to hide and sleep. It also needs to fit you and your gear. Look for a tent with a vestibule, or a good sized 2 person tent. Lastly, it needs to be a reasonable weight. A general hiking rule is, ounces equal pounds, and pounds equal fatigue. Don’t try carrying a 6 person tent. When I go hiking without my wife, a carry a 2.5 lb. tent. Its just big enough for me and my backpack.
Unlike your backpack, you will not want to buy a used tent. Cheap tents don’t last long, and most people use their good expensive tents until they are worn out and leaky. You might find a good deal on one somewhere, but don’t be surprised if your sleeping bag becomes a waterbed. There are plenty of options available to you from around $20 up to well into the hundreds of dollars. Here are some tents I wouldn’t be afraid to at least try out.
Ultralight trekking pole tent if you plan to buy trekking poles as well.
2 person backpacking tent May need additional waterproofing
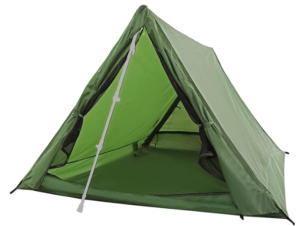
2 Person tent with vestibule I actually added this one to my wish list.
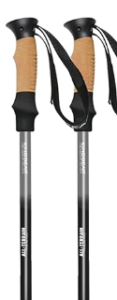
Trekking poles
Trekking poles are great. They help to keep a steady pace while walking, and can even relieve some weight from your legs while going up hills. The available options are all pretty good, but the best option, in my opinion, is to make your own from a sapling. I like to use one pole instead of two, and I have had mine for over 6 years. It is made from an American hawthorn sapling, and is between 60 and 66 inches long. It is heavier than commercial trekking poles, but it supports a lot of weight that I would not trust to a telescoping pole. The best thing about it was that it was free!
Trekking poles if you are going to get the trekking pole tent.
Cooking on the trail
You’re going to need to eat. There are all kinds of options for ways to cook while hiking, but I will save you the guess work and money with one option. Get a cheap Chinese backpacking stove.
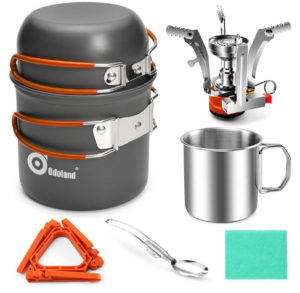
This is all you need and will last you for years. I have one that I bought in 2017 and it is still going strong. I like it so much, I bought another one for when my whole family hits the trail. You don’t need a Jetboil or whatever the new hotness happens to be. But please don’t try to carry a Coleman stove.
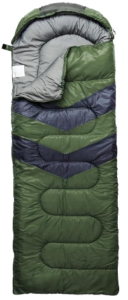
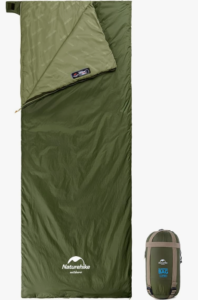
Packable Sleeping solutions you won’t lose sleep over
Sleeping bags can be hit or miss. You don’t really want to buy a used one because, let’s be honest, that’s a health gamble. You don’t want to end up with scabies, or some other ailment that penicillin wont clear up. Instead, you should be looking for a decent new bag that is affordable and does two things. It should meet the temperature minimums you will encounter on your hike, but preferably will go just a little lower. It should also pack down small enough to fit inside of your backpack. Weight is not really a concern as much as size here. As the saying goes, “pack light, freeze at night”.
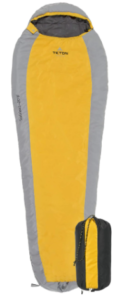
Naturehike warm weather sleeping bag
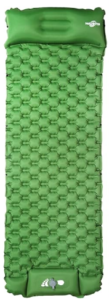
Sleeping pads will help keep you off the ground. Not only will you be more comfortable, but you won’t lose body heat to the cold ground. This is completely optional, but you should definitely consider buying one.
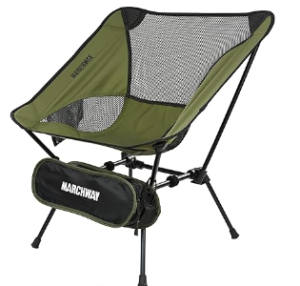
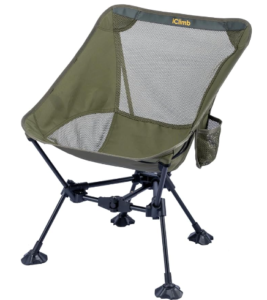
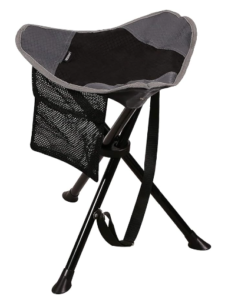
Don’t forget chairs
There is much debate as to whether or not chairs are a necessary hiking item. For me, they are non-negotiable. Sure, you can sit on logs or rocks, or the cold hard ground, but if you find the right chair, it’s only a couple of extra pounds, and the relief it can bring you on breaks or at the camp site vastly outweighs the fatigue caused by the additional load. I have tried a few different options from regular folding camp chairs to my current choice, a lightweight three legged folding stool. Each have their own advantages and disadvantages. The camp chairs are more comfortable. You can lean back in them, and most have a cup holder and arm rests. However, they are heavy. The backpacking chairs have a little back to them, so they offer some support in that way. They are also light, but they sit so low to the ground that getting out of them with sore legs and back is not enjoyable. The three legged folding stools are regular seat height, and actually quite comfy. The only drawback is that they don’t have a backrest.
Gear you can’t cheap out on
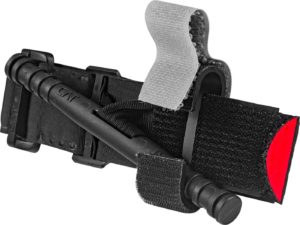
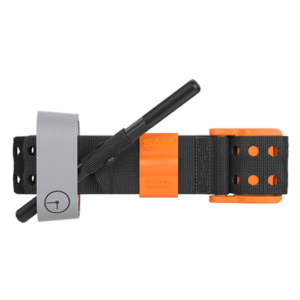
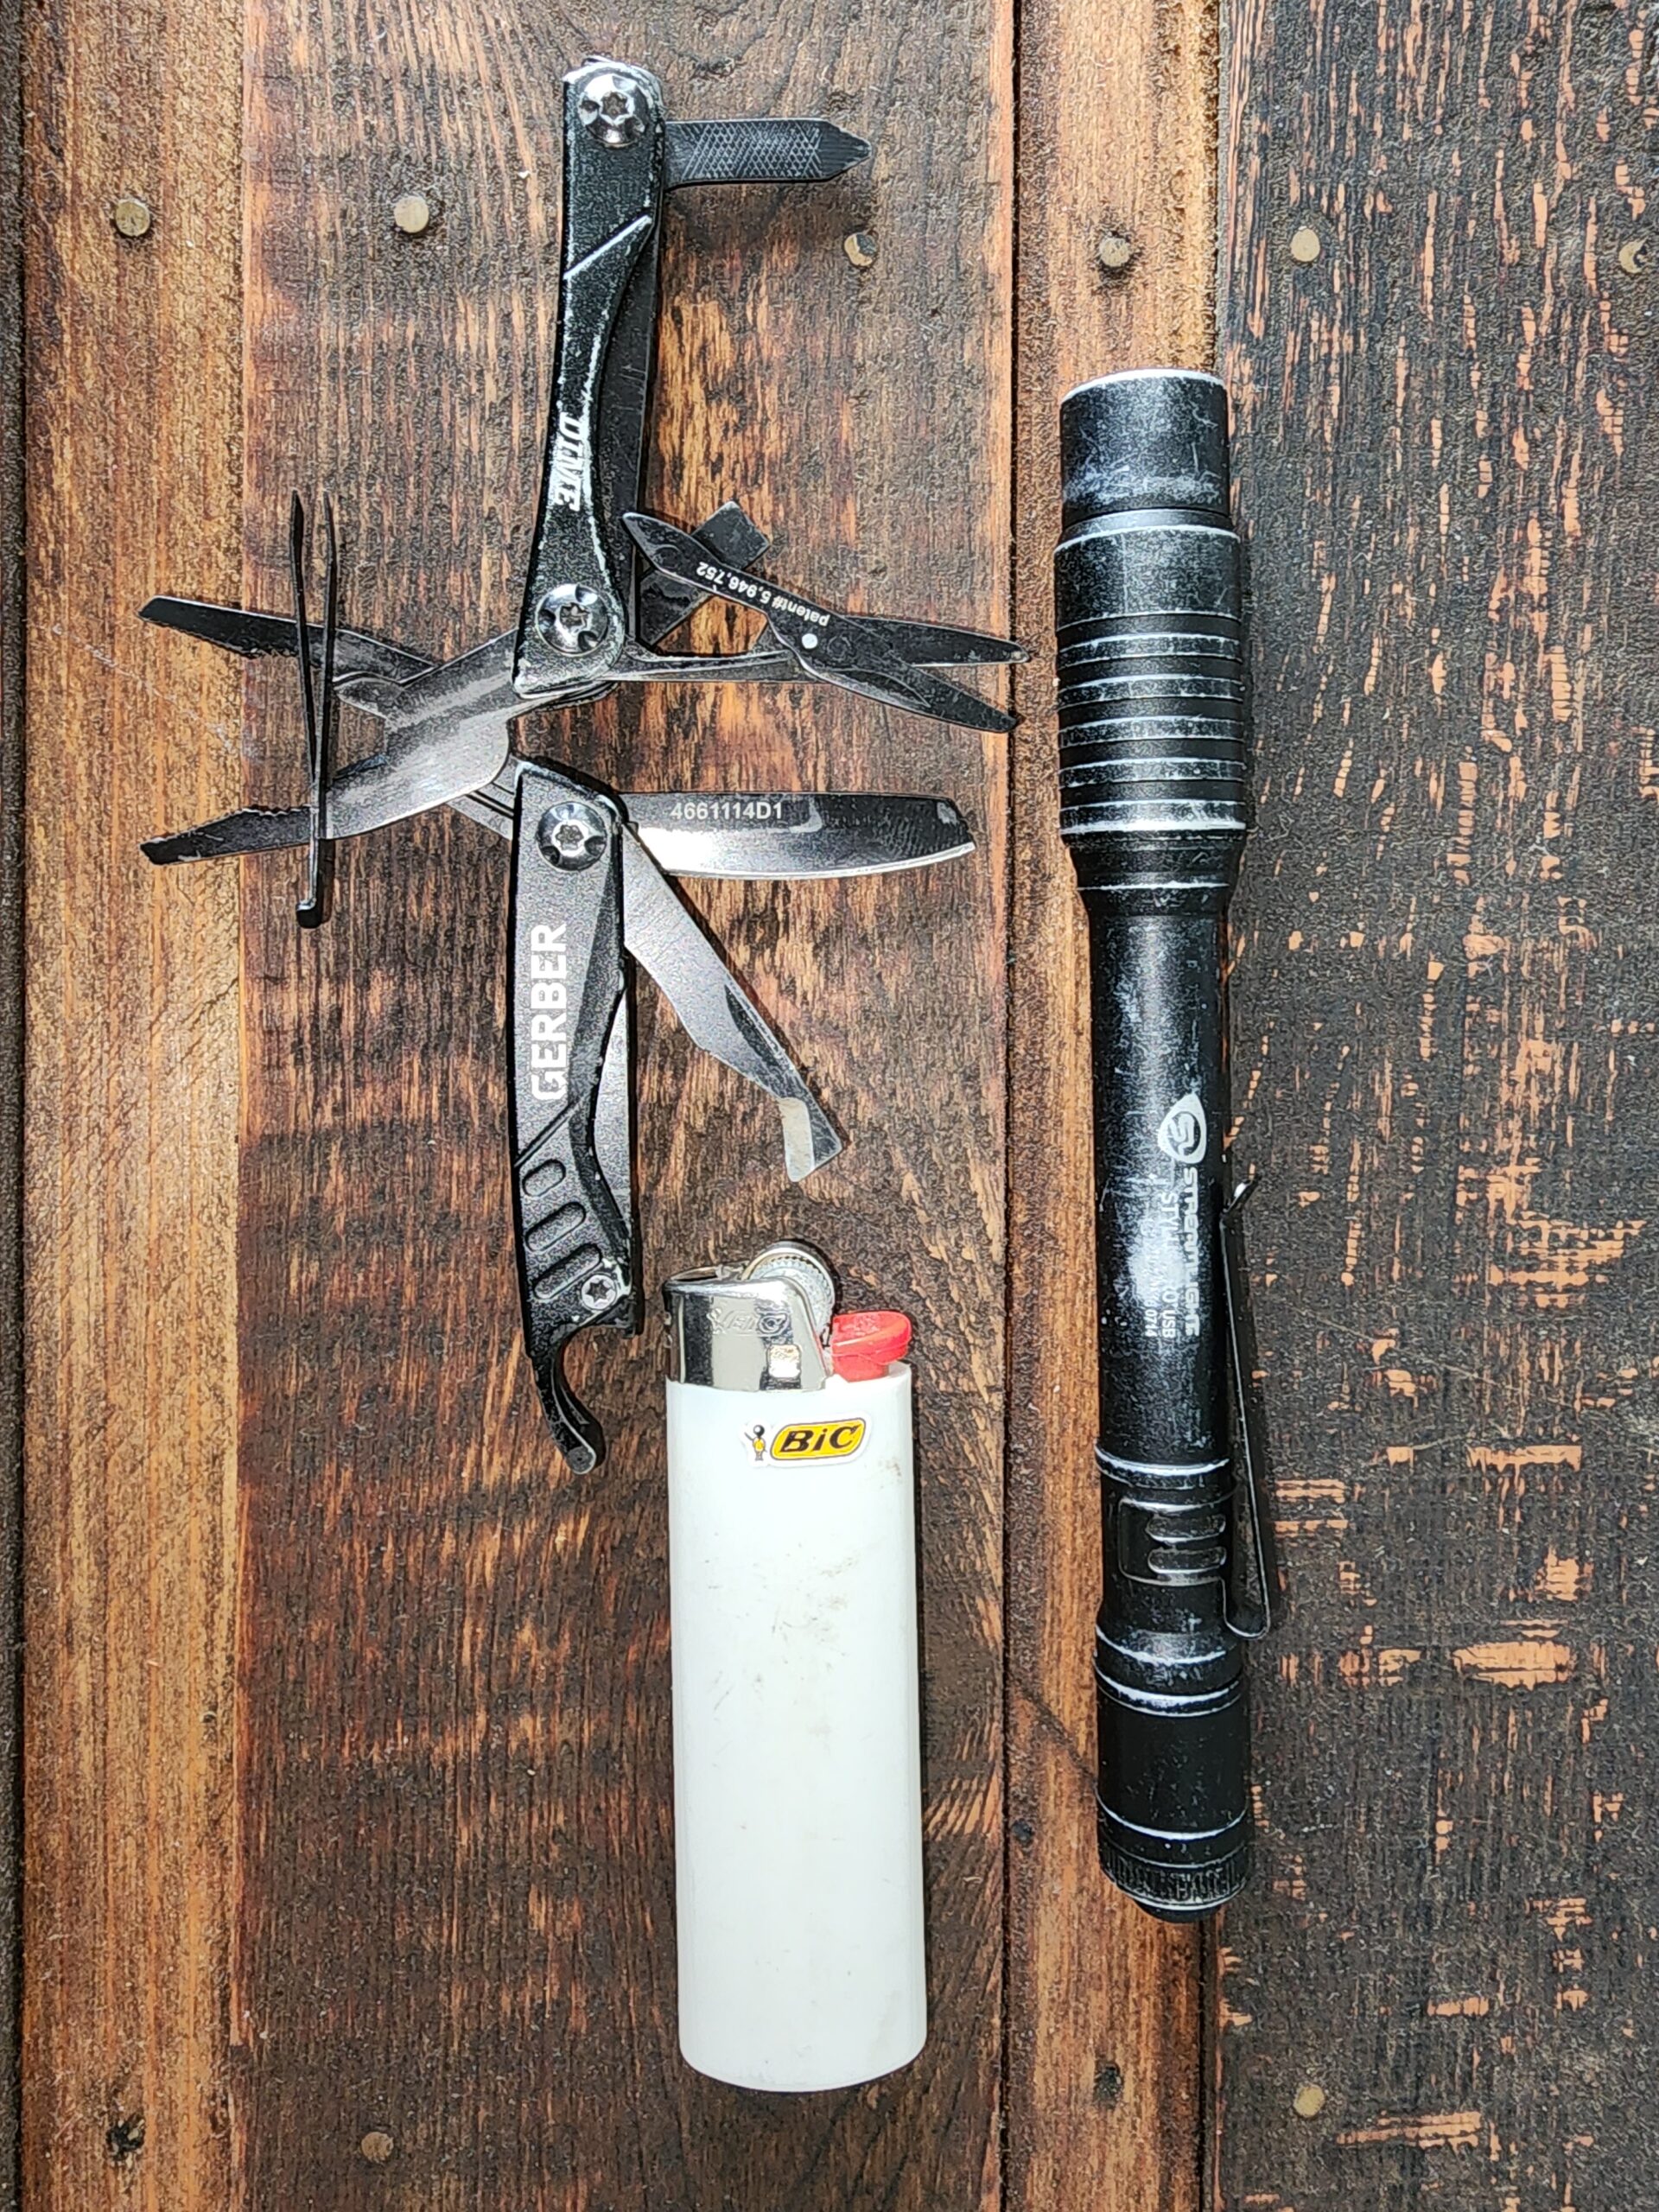
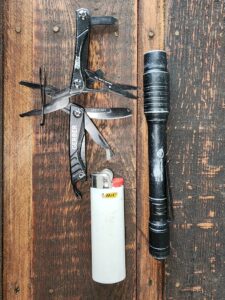
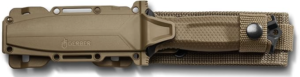
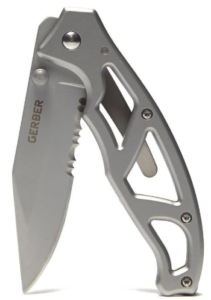
The previous items were great examples of areas to save some money, but there are some things you should really consider spending a little extra on, such as knives. I’m not saying to go out and spend over $100 on a knife, but you should make sure your blade is going to hold up to hard use. Gerber usually has reasonably priced knives with good steel in the blades. You are going to use your knife more than you might think, so be sure to get a good one. There are too many options to list them all, so I will show you what I use, and you can go from there.
Gerber Strongarm . This is the closest thing I could find to the Gerber Prodigy that I carry
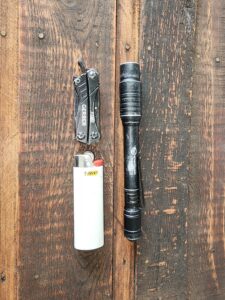
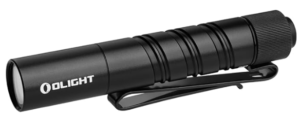
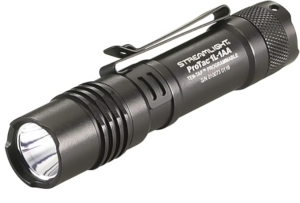
A good flashlight does more than just light up the area at which you point it. A good light provides enough light, while conserving battery power. Believe me, you don’t want to run out of battery in the middle of a hike. Your light should also be small in size, and in weight. That is a hard combo to find at an affordable rate, but here are some options.

You will also need to spend money on good footwear. I am partial to Merrel brand, but there are several others that are good. Pick what ever you like, but do yourself a favor, and don’t skimp out here. If you take care of your feet, they will take care of you.
Gear you don’t need
Hammock
Now that you’re feeling like I just told you to spend lots of money, here are some things you don’t really need to buy, such as hammocks. They are incredibly comfortable, easy to put up, and can come with bug nets. But they add weight, can be hard for some to get in and out of, and you don’t really need one. Will you regret bringing one on your hike? Probably not. Will your hike be unenjoyable without one? Absolutely not.
Electronics
Next is any form of electronic entertainment. Just don’t do this. Unplugging and experiencing God’s creation is part of the hiking experience. It is extra weight, extra battery power, noise and light pollution, and extra money. Also, things get wet, dropped, squished, and banged up against objects while you’re out on the trail. If your goal is to save some money, electronics are the last thing you want to bring with you. Do bring your cellphone, however, in case of emergencies, but if you keep it off, your hike will probably be a lot more enjoyable.
GPS
You are most likely not blazing a new trail to the pacific coast. You are probably not going to wander off the trail at all, so you will most likely not need a GPS. With that being said, if you do plan to wander off the beaten path, make sure you know what to do if you get lost. We can offer you training in wayfinding, and wildness survival in case you do. If you absolutely must have a GPS, don’t waste your money on a cheap one. A good compass and a map would do you as much good if you know how to use it.
Special backpacking clothing
Pants, shirts, a sweatshirt, extra socks, and underwear are all you need to have. Lightweight, moisture wicking, tear resistant fabric is good, and if you can afford it, you should probably try it out. However, it is not needed. I have never taken any kind of special clothes on the trail, and, unless someone gives me some for free, I never will. With that being said, ladies, you should not wear leggings into the woods. They are not designed to hold up to wear and tear. The same goes for Jeggings. You might not have an incident, but you sure don’t want to have one.