
Starting seeds
Your garden is supposed to work for you. It needs to provide you with fresh produce while saving you money. You want it to be full and lush, but there is work to be done first. Like most things in life, you need to start from a firm foundation if you want to build something successful. When it comes to gardening, “starts” are that foundation.
Your starts could come from a green house, or you could grow them yourself. I intend to arm you with enough knowledge to get your own garden starts from seeds. I am assuming that you have already decided what you want to grow and have a garden space all planned out. If that is not the case, be sure to read the garden planning article from earlier this month. If you’re ready to take the next step, you need to know how long it will be until your plants mature.
Maturity rates
Different plants will mature at different rates, even if they are different species in the same kind of plant. For example, one type of watermelon might take 80 days to become fully mature, while another might take 110 days. That is one month difference. You will want to time your starts based on this information which should be on the seed packets.
If you want to harvest watermelon in July, you will need to plant 80-110 days in advance depending on the variety you have chosen. Also, you can consider staggering your starts, planting the same variety in one week intervals. This will help to ensure that you have a longer harvest, keeping you from getting too much of one thing at a time. It is especially helpful with plants that have a short harvest window, such as sweet corn.
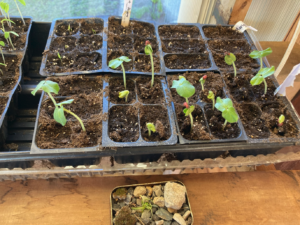
Plant more than you need
Something to consider is that your starts are not guaranteed to survive. Plants, like any other living thing, can die early for a number of reasons. I have learned the hard way to plant more than I think I need for my garden in case of a catastrophe. Over-watering, under-watering, disease, fungus, bad soil, and spills can take your starts from vibrant and healthy to staggering disappointment very quickly. If your starts all happen to survive, you will have extra to plant, or you could give some away to your friends and neighbors.
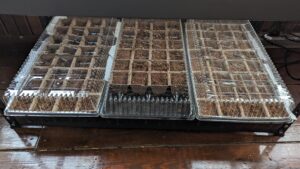
Seed starting kits
Jiffy Seed Starting Greenhouse (Amazon)
Seeds can be started in just about anything, but there are some good kits that can be purchased online that will help ensure successful results. These act as little greenhouses and also help protect your plants from pests that might get into hour home, or your pets. They also serve as a tray to keep the water on your plants and not your floor.
Warm up the soil
Seedling Warming Pads (Amazon)
If you plan to have your plants in the sunlight that beams through your windows, the soil will likely get warm enough to cause the seeds to germinate. However, not everyone has that much sun coming in, but there is a solution. Warming pads that you can put under your seed trays will provide enough heat to help start the germination process. Some seeds, such as Carolina Reaper, need the extra boost provided by heating pads. I had a very low success rate getting these plants to germinate without the extra heat. In fact, most hot peppers and tomatoes appreciate the extra warmth.
Plenty of light
When you plant your seeds, they don’t see any kind of light until they emerge from the soil. At that point, they start to seek out any light they can find and will compete with nearby plants for it. You can make sure they are getting enough with a good grow light. A grow light differs from regular fluorescent or LED lights by producing a wider spectrum of light. They are designed to give your plants all the light they need to thrive. Your light will need to be closer to the plants than you might think, so don’t be afraid to put it as close as a half inch away. Be prepared to adjust it as your plants grow.
Proper watering
Watering in a tray is easy. You have to pour the water in the tray part, not over the plants, and the soil will absorb it all. Be careful not to overwater your plants, as they will suffer root rot, or start growing harmful mold. Once watered, the tray’s lid will act as a greenhouse and retain much of the moisture that the plants shed. Without a lid, the plants are open to the air circulating in your house, which will dry them out faster.
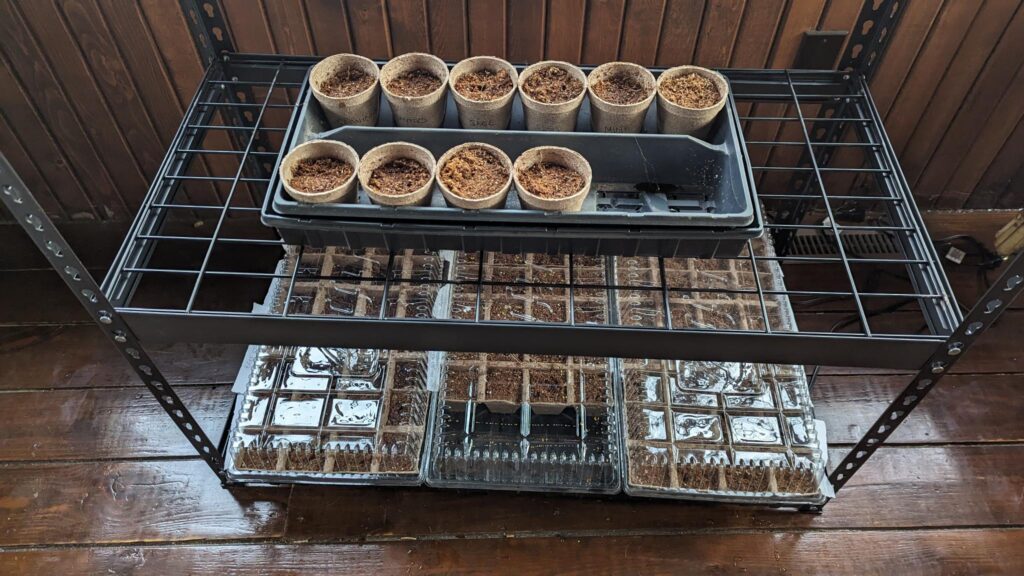
Building a seed starting rack
If you don’t already have something in mind to keep your starts on, you could consider building a starting rack. Take some wire shelving, your grow lights, your warming pads, and seed trays, and put them all together. Get wire shelving that will fit your seed trays, and place your heating pads down. set your trays on top of the pads, and hang your lights from the shelf above, and run all of your cords to a power strip. The rack you end up with will give you a place to hang your grow lights from as well as provide a neat and tidy look to your operation. Remember, you have to look at it for a couple of months.
Pro tips:
Be sure to label or otherwise catalog what seeds you planted, and where they are. That way you don’t get mixed up when they start to germinate.
Make sure you use good fresh seeds. Old seeds often will not germinate, or the plant will not produce well.